Getting started with Redact Assisted
From upload to finished file in ten steps. This guide covers assisted redaction in the browser – where the AI finds the personal data and you review the result before the file is approved.
Log in
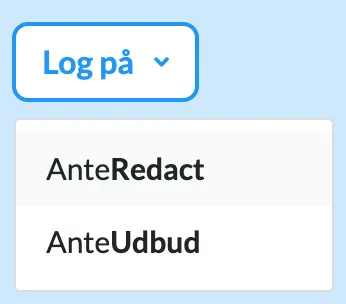
Go to ante.dk and choose “AnteRedact” in the “Log in” menu – or go directly to redact.ante.dk.
Log in with your e-mail and password. If your account has two-factor authentication enabled, you will also be asked for a one-time code from your authenticator app.
Upload documents
After logging in you land on the “Documents” page. At the top is an upload area: drop one or more documents there, or click to choose files.
Up to three files upload at a time with a progress bar, and you can cancel along the way. If you work in projects, you can also upload from the project’s “Documents” tab – the files are then placed in that project.
- Word (.docx, .doc)
- RTF
- PowerPoint
- Excel
- E-mail (.msg, .eml)
- Images (.jpg, .png)
- Text (.txt, .html, .xml, .json …)
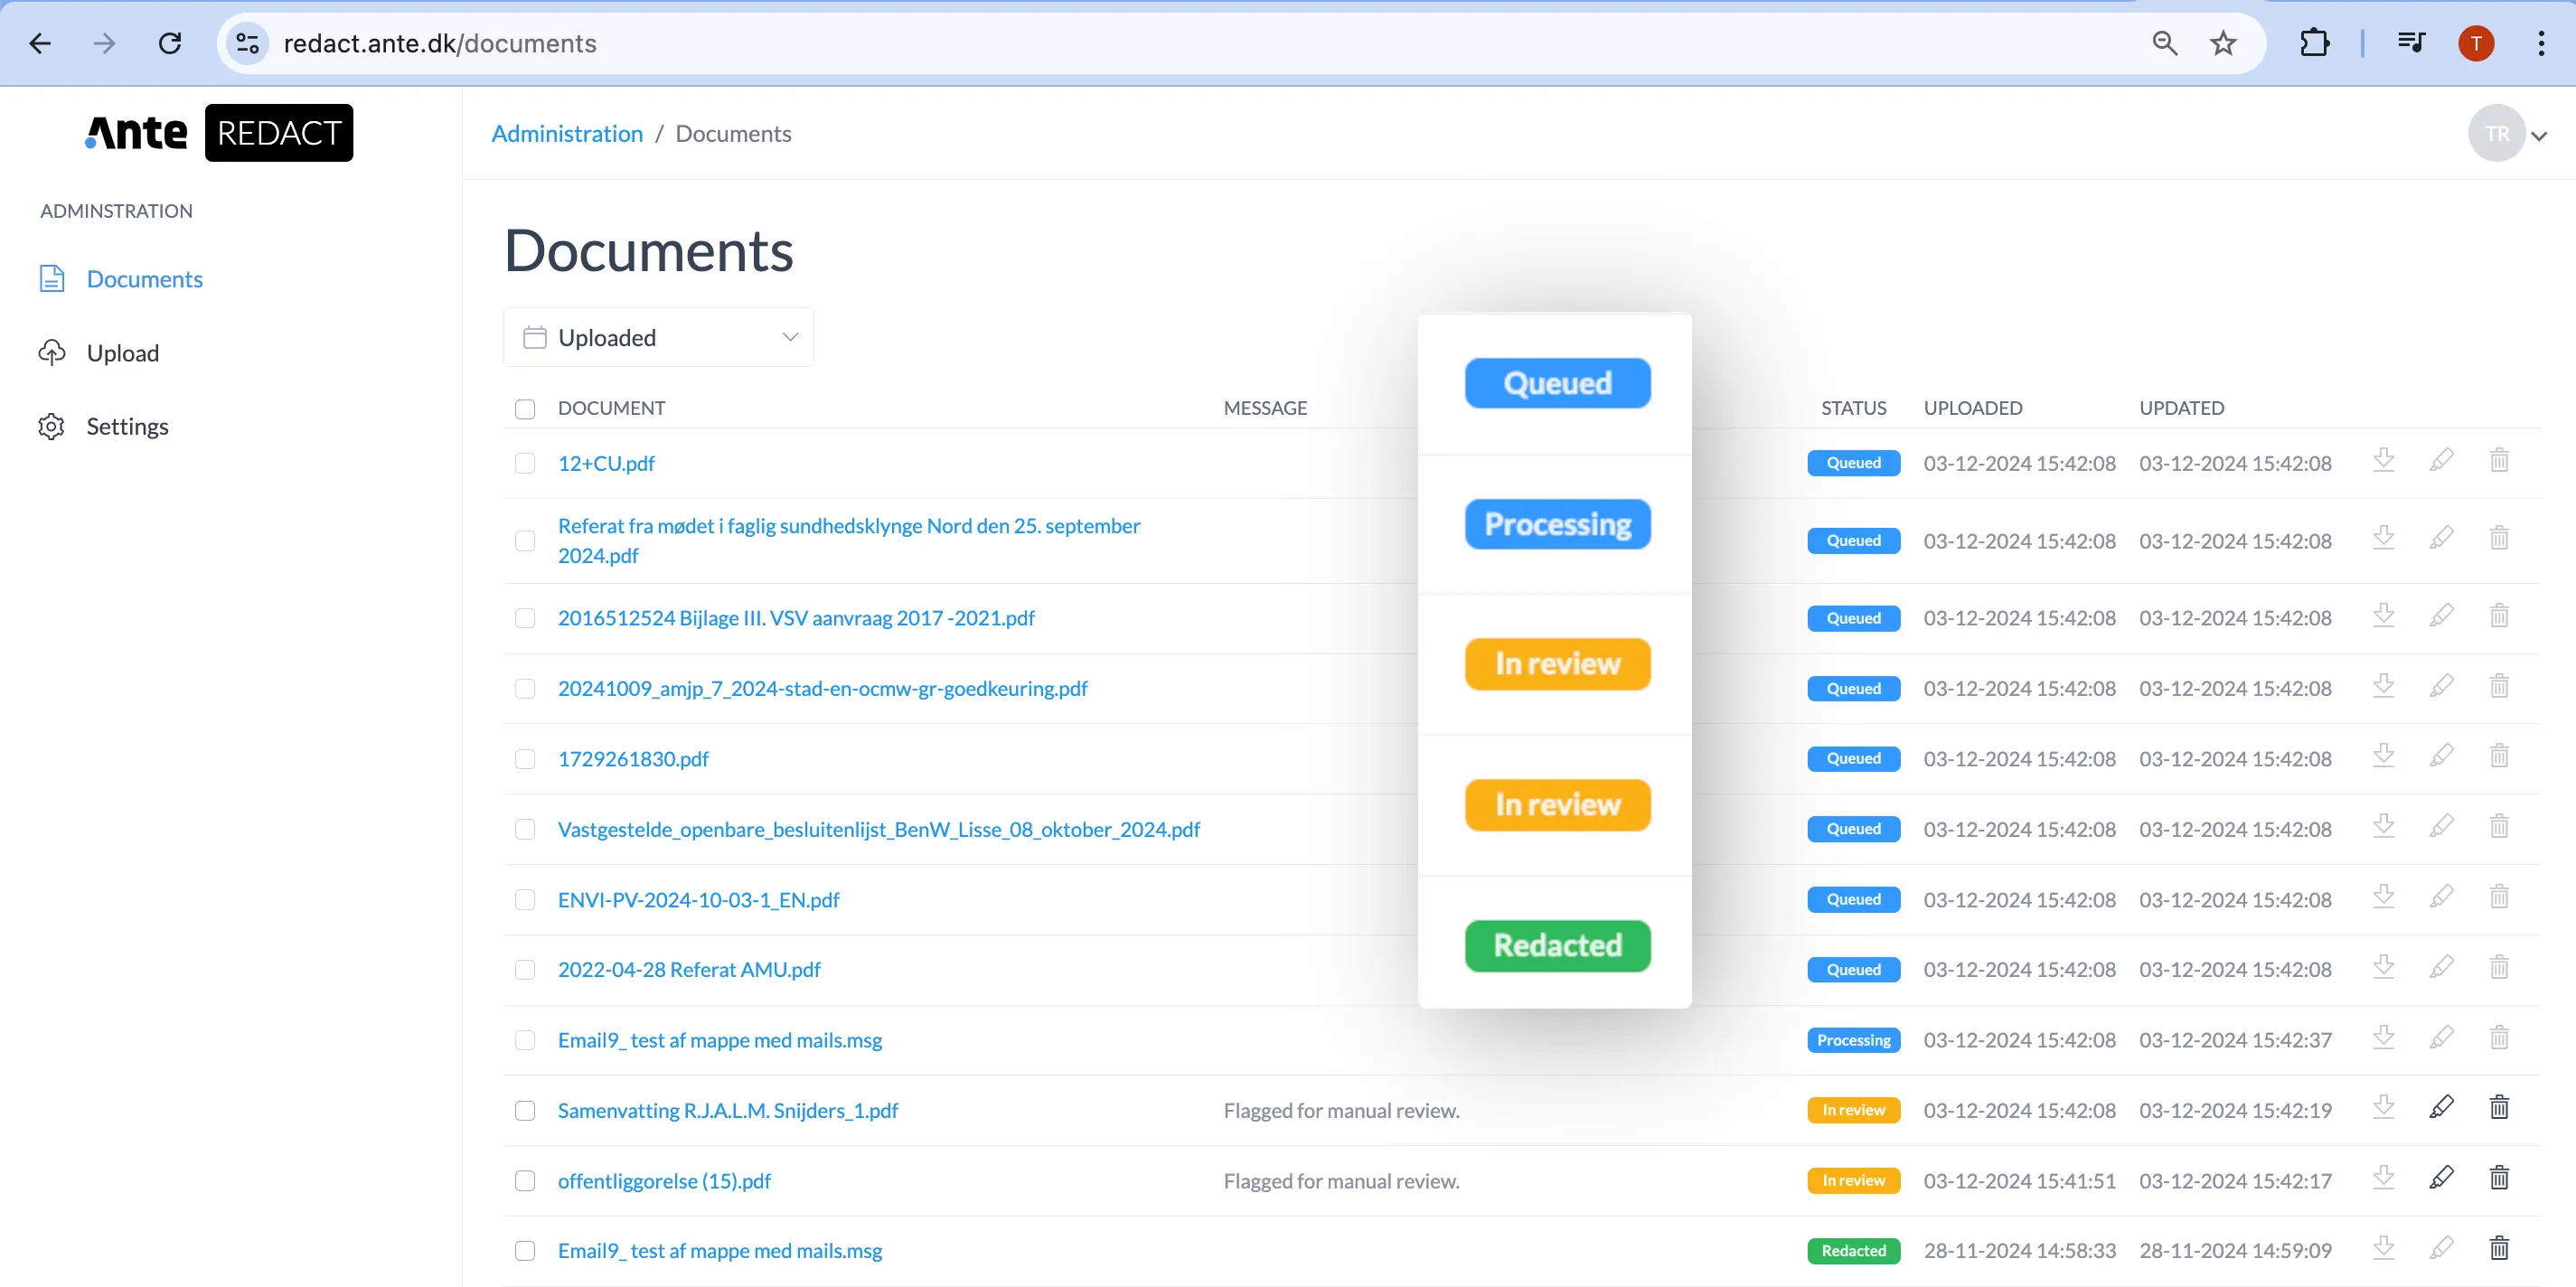
Follow the status in the list
Every document appears in the list with a status. The list refreshes itself every 15 seconds, can be filtered by date, and you can choose how many rows are shown per page.
Click the status to open the document’s event log if you want to see what has happened to it.
- Queued The document is waiting in the queue.
- Processing The AI reads the document and finds personal data (scanned pages are OCR’d automatically).
- In review The suggestions are ready for your review.
- Redacted The document has been approved and the redacted file can be downloaded.
- Failed / Expired Something went wrong, or the document was cleaned up after the retention period.
Open a document for review
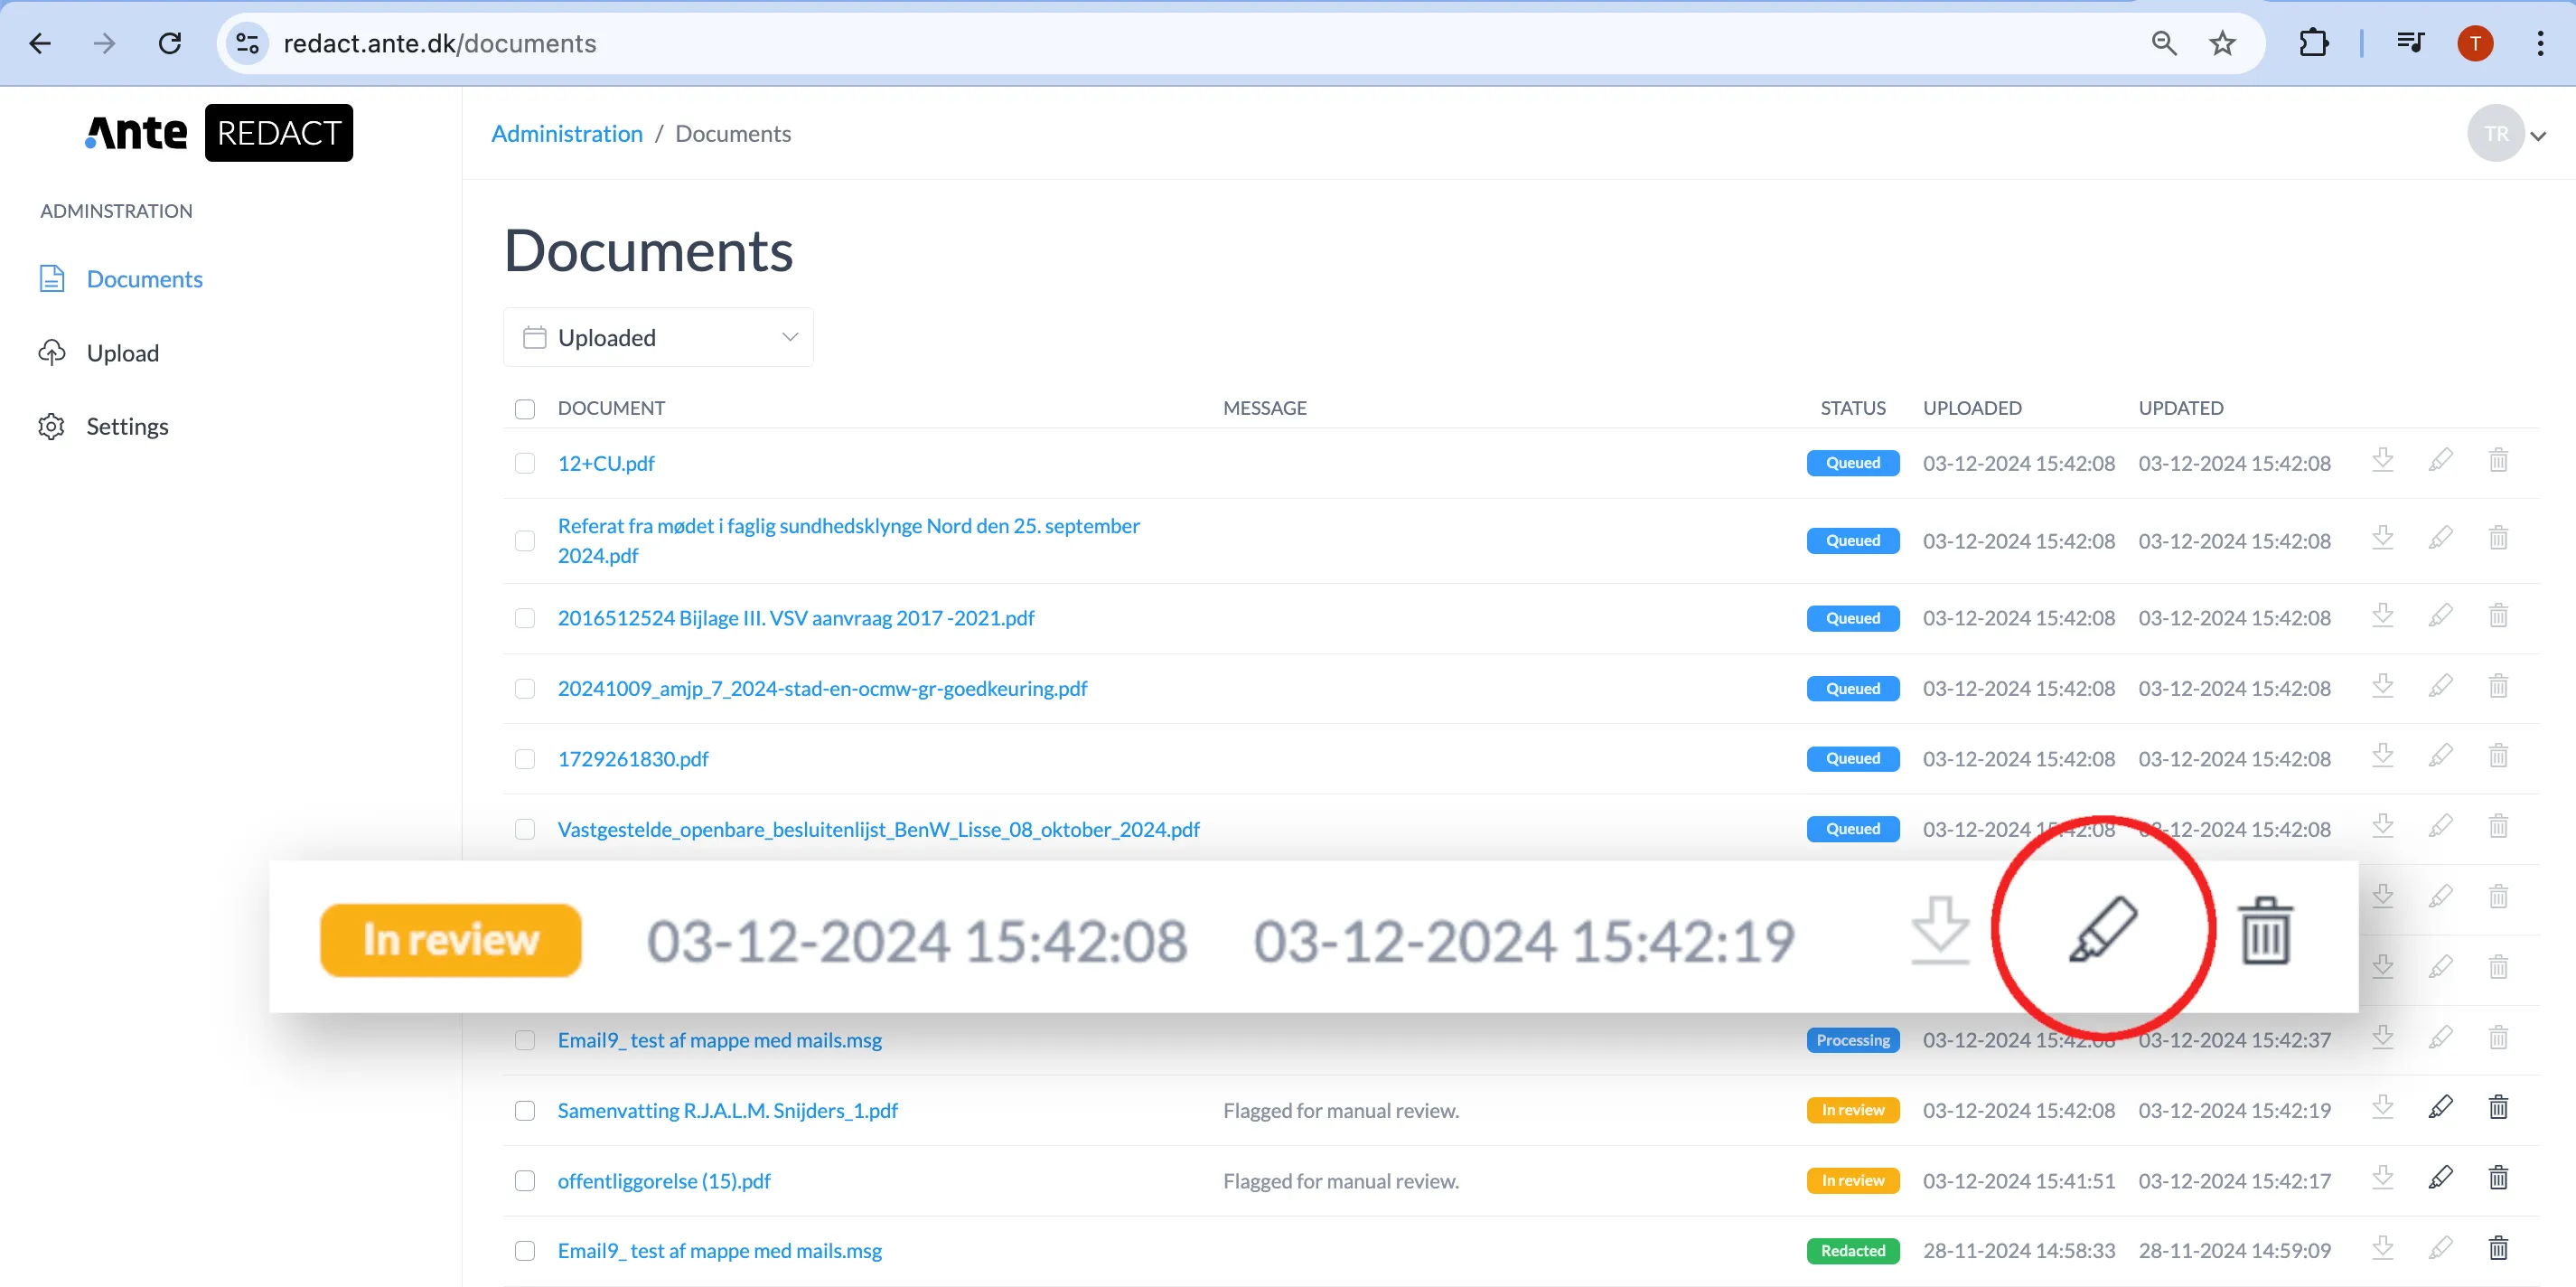
When the status is “In review”, open the document by clicking the file name or the “Review and edit” icon at the far right of the row. The editor opens in a new tab.
The editor: the toolbar
Above the document you find page navigation, thumbnails, zoom and undo/redo. In addition there are two tools for the redaction itself – and, at the top of the panel on the left, the “Approve” and “Save” buttons.
- “Approve” saves the document and runs the final redaction. The document is locked afterwards.
- “Save” stores the current version of your changes. The editor also autosaves every 10 seconds.
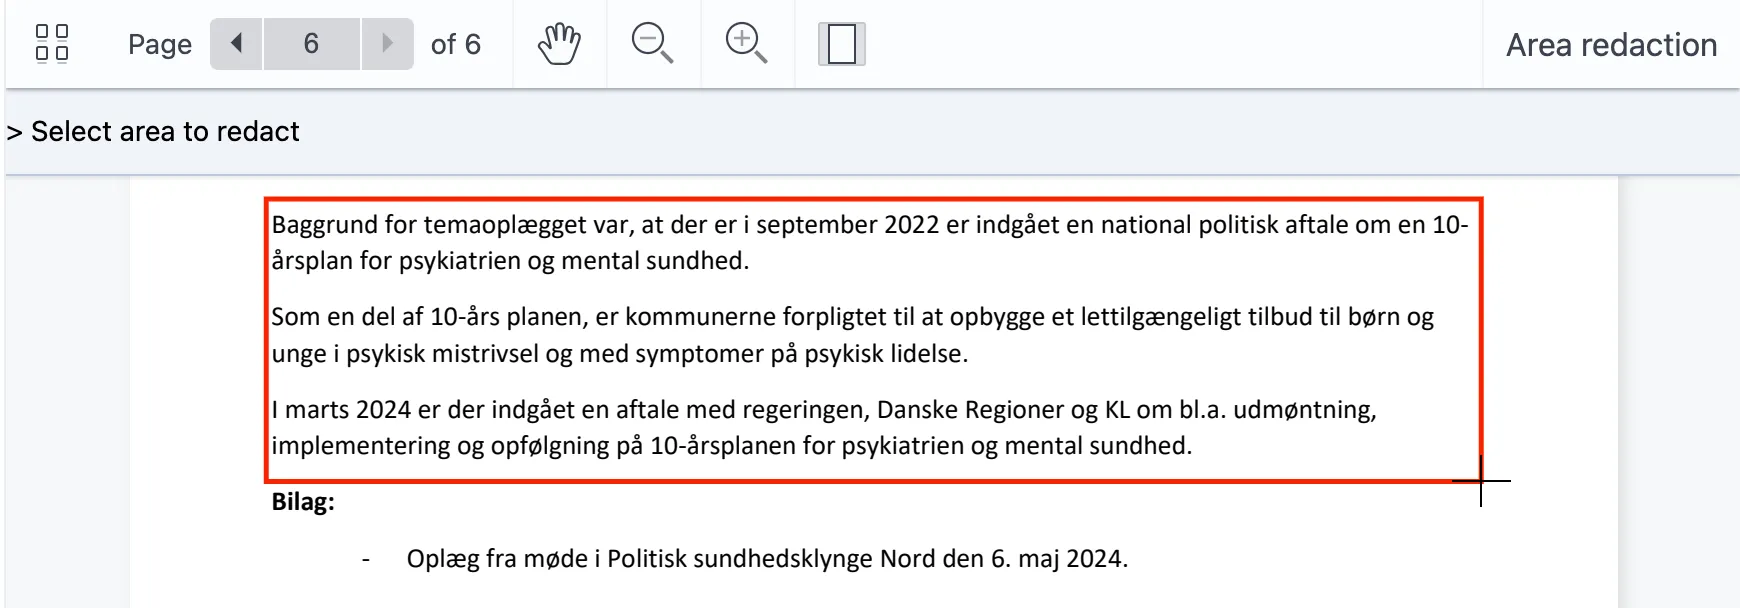
- “Draw redaction” (select area) marks a whole area – pictures, signatures, stamps or entire paragraphs.
- “Search” opens the search panel where you find and redact text. Ctrl/⌘+F does the same.

The entity panel
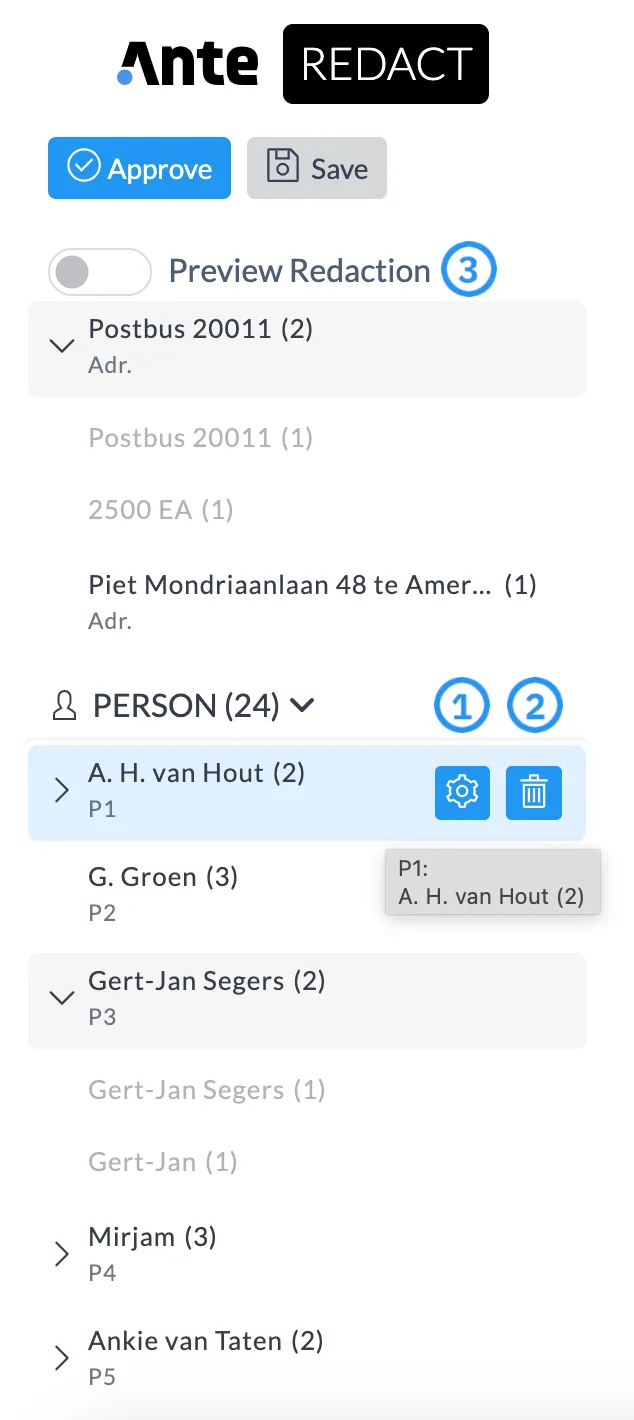
The panel on the left lists all the personal data AnteRedact has found – grouped by category (Person, Address, E-mail …) with counts. Everything in the panel is redacted when you approve.
- Every row shows the text, the number of occurrences and the alias that replaces it (e.g. P1, P2).
- Grouped occurrences: all mentions of the same person – “Emma Walker”, “E. Walker”, “Walker” – are collected under one alias. Expand the group with the arrow.
- Click an occurrence to jump to it in the document.
- Drag an occurrence onto another entity to merge them – or drop it on “Split to new entity” to give it its own alias.
- The gear icon (1) edits the alias and category.
- The trash icon (2) deletes the entity so it is not redacted.
- “Preview Redaction” (3) shows what the document looks like with the redactions applied – while they can still be edited.
- A red “!” marks low-confidence findings that deserve a second look.
Add a redaction by selecting text
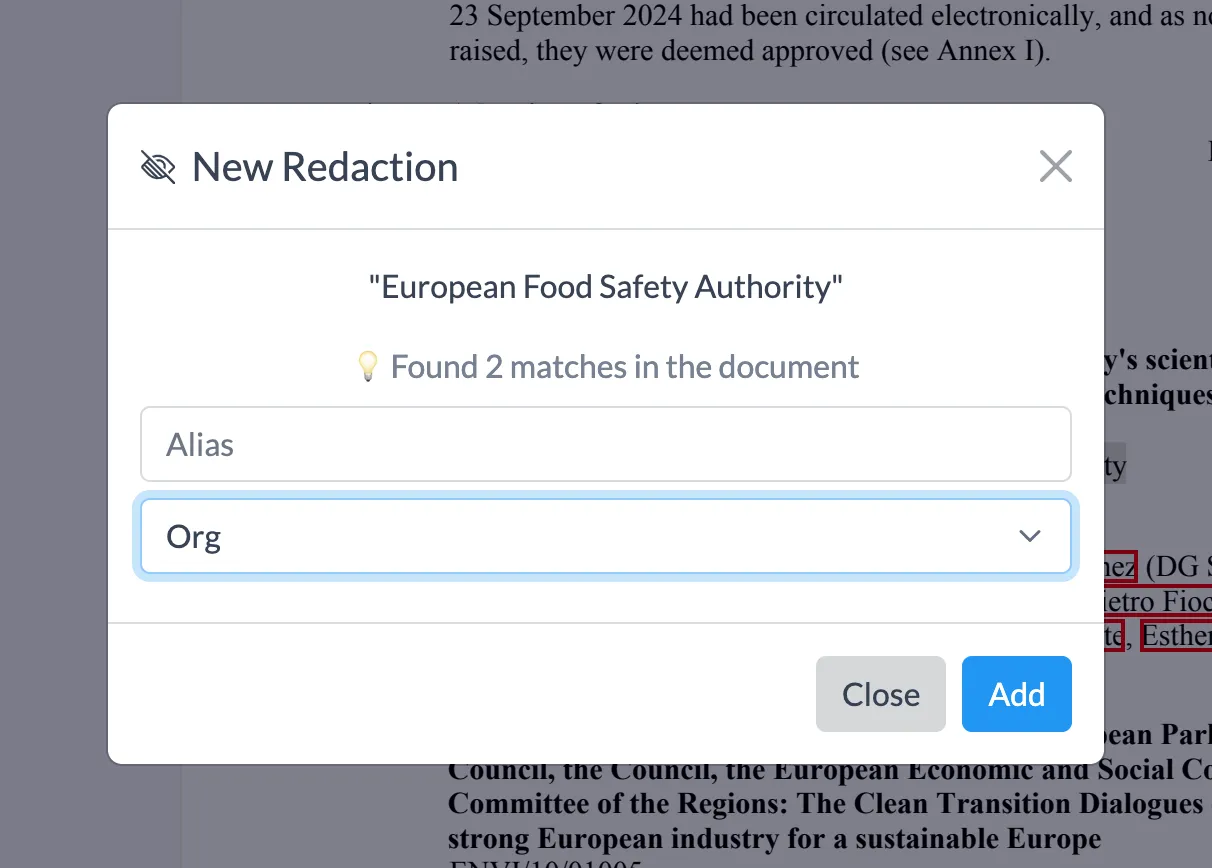
If the AI has missed something, simply select the text in the document. The search panel opens with your selection filled in and shows every occurrence in the document.
Choose the category (and optionally an alias) and add either all occurrences or just the selected ones. Double-click and drag to select whole words. The new entity appears in the panel on the left.
Redact pictures, signatures and areas
If the text cannot be selected – for example in a picture, a signature or a stamp – use “Draw redaction” in the toolbar and drag a box over the area.
Areas appear in the entity panel as “Area 1, Page 3” and can be deleted like any other entity. In Word documents, embedded images are redacted with the image tool in the toolbar.
Approve
When you are happy with the result, click “Approve”. The document is locked, the redaction runs and the status changes to “Redacted”. The personal data is removed from the file itself – not just covered with a box.
If several documents should be approved without review, tick them in the list and click “Approve” there.
Download
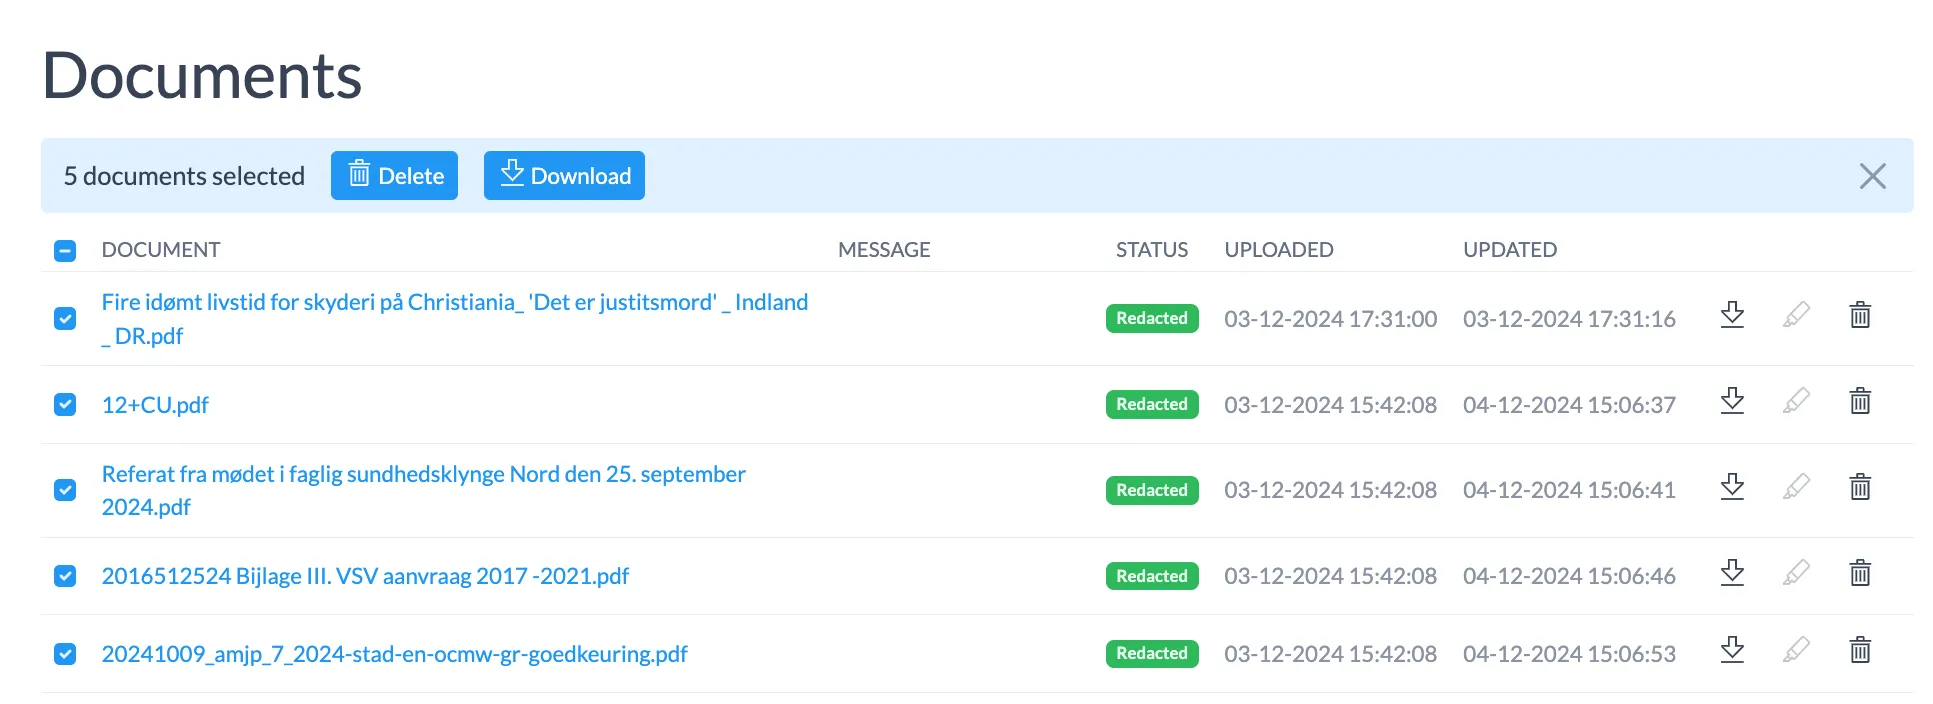
Download the redacted document with the arrow icon in the row – or tick several documents with the checkboxes and click “Download” to get them together in a zip file.
Keyboard shortcuts in the editor
- Ctrl/⌘ + F
- Search the document
- ↑/↓
- Previous/next match
- Enter
- Select match
- Delete
- Remove the selected redaction
- Esc
- Close search
- Alt + P
- Toggle preview
- Ctrl/⌘ + Z
- Undo
- Ctrl + Shift + Z/Ctrl + Y
- Redo
All set!
Remember to click “Approve” once you are done with a document. If you have questions or run into problems, you are always welcome to write to us.