The redaction editor
Every document, including each one in a project, opens in the same editor. Every finding sits in one list on the left, grouped by category, with a tick: untick what should stay readable, rename a person once for every spelling, search for what the model missed, and preview the result before you approve.
Tick what gets redacted
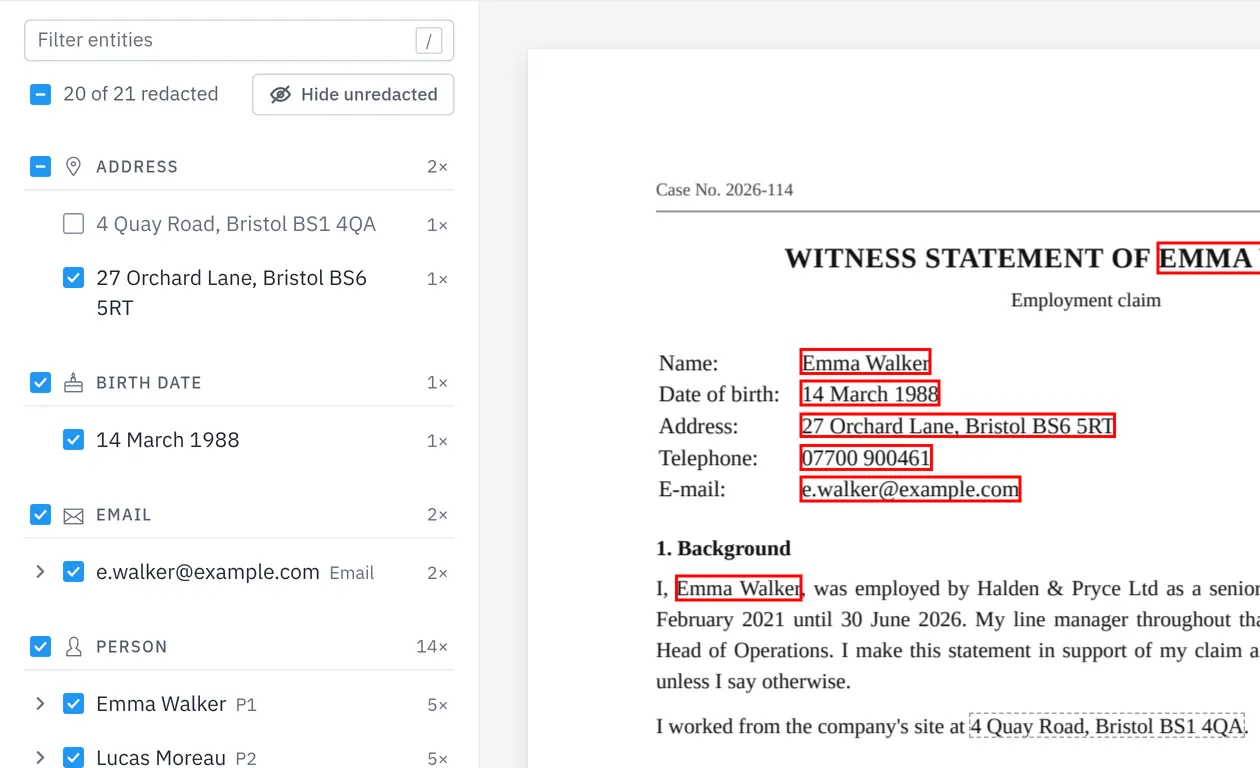
Every category, entity and variant has a tick. An unticked finding stays in the list, greyed out, but isn’t redacted; on the page it gets a dashed grey outline instead of a solid one. Before, you had to delete a finding to keep it readable.
- Filter entities narrows the list; press / to jump to it.
- Hide unredacted shows only what will actually be redacted.
- Low confidence shows only the findings the model is least sure of.
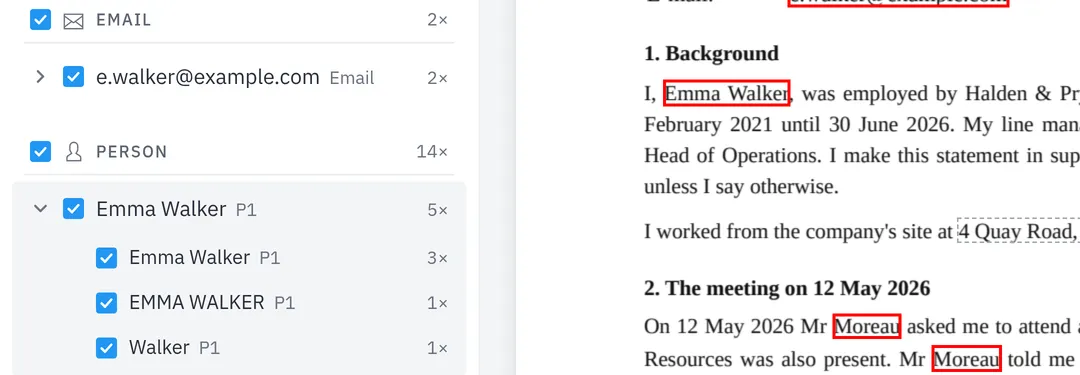
One person, every way they are written
An entity collects every variant of a name or spelling under one alias. Open it to tick variants one by one.
- Drag a variant onto another entity to join them.
- Drag a variant out of its entity to split it off with its own alias.
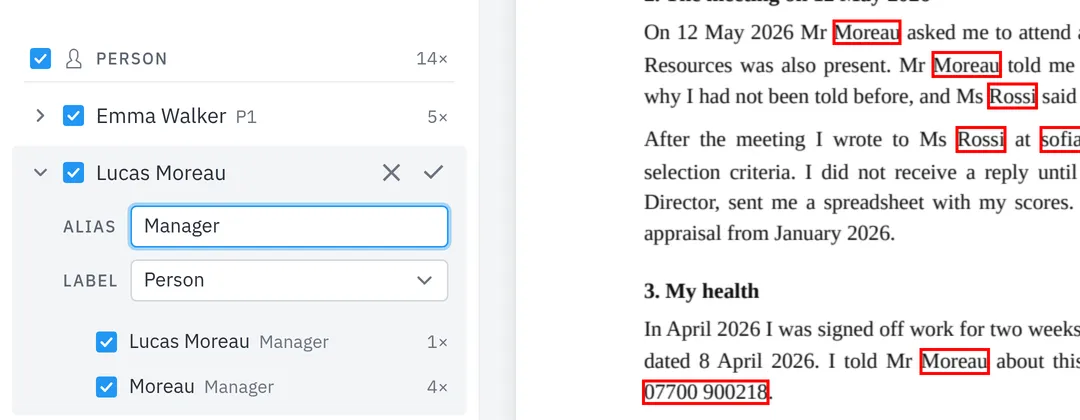
Rename an alias once
Click Edit alias and category on an entity and type the new alias. Every variant follows. A Keep possessive endings switch keeps the possessive on the new alias.
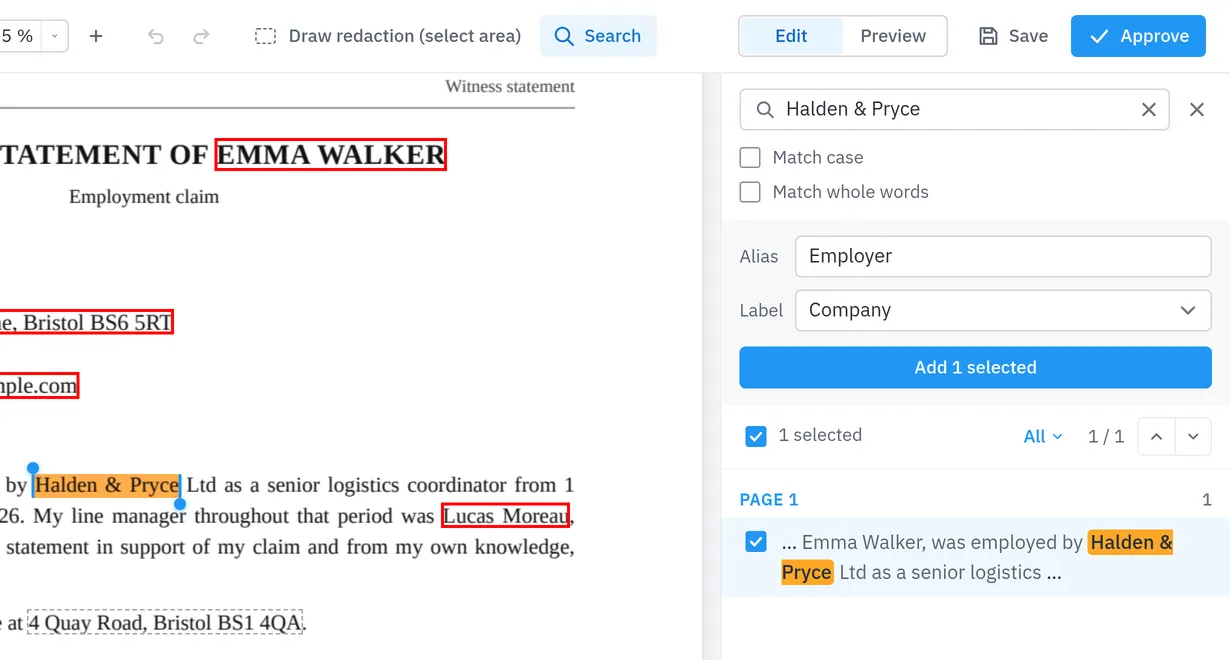
Search for what the model missed
Click Search and a pane opens on the right. Matches are listed by page, with the words around them. Tick the ones to redact, give them an alias and a label, and click Add.
Check the result before you approve
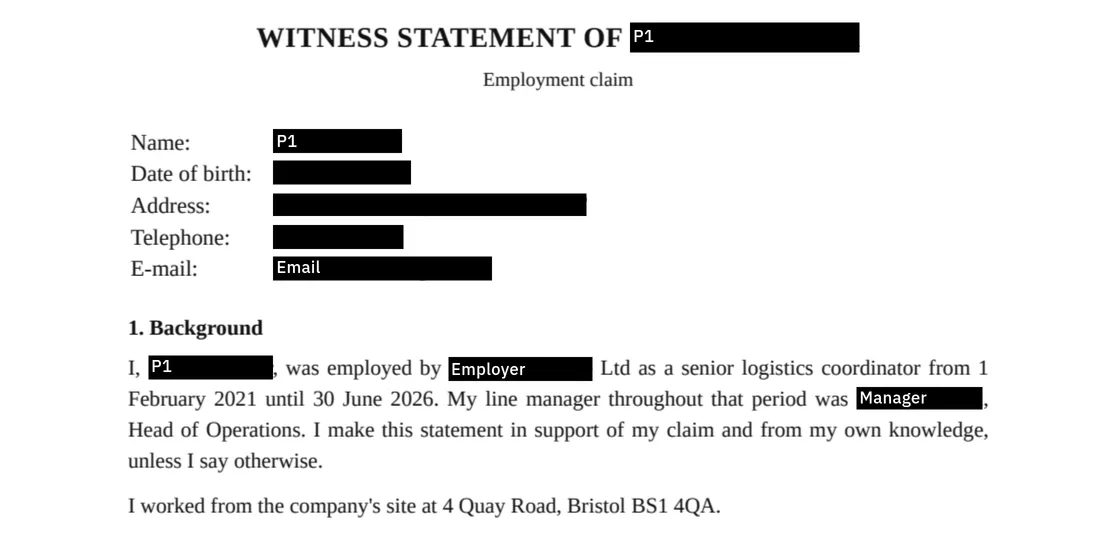
Preview (Alt+P) shows the page as it will come out: black bars with the aliases on them, and anything unticked left readable. Approve asks you to confirm first.
Faster with the keyboard
Arrow keys, Home and End move through the list. Space ticks or unticks the current finding, F2 opens the edit form, and Delete removes a redaction you added or unticks one the model found.